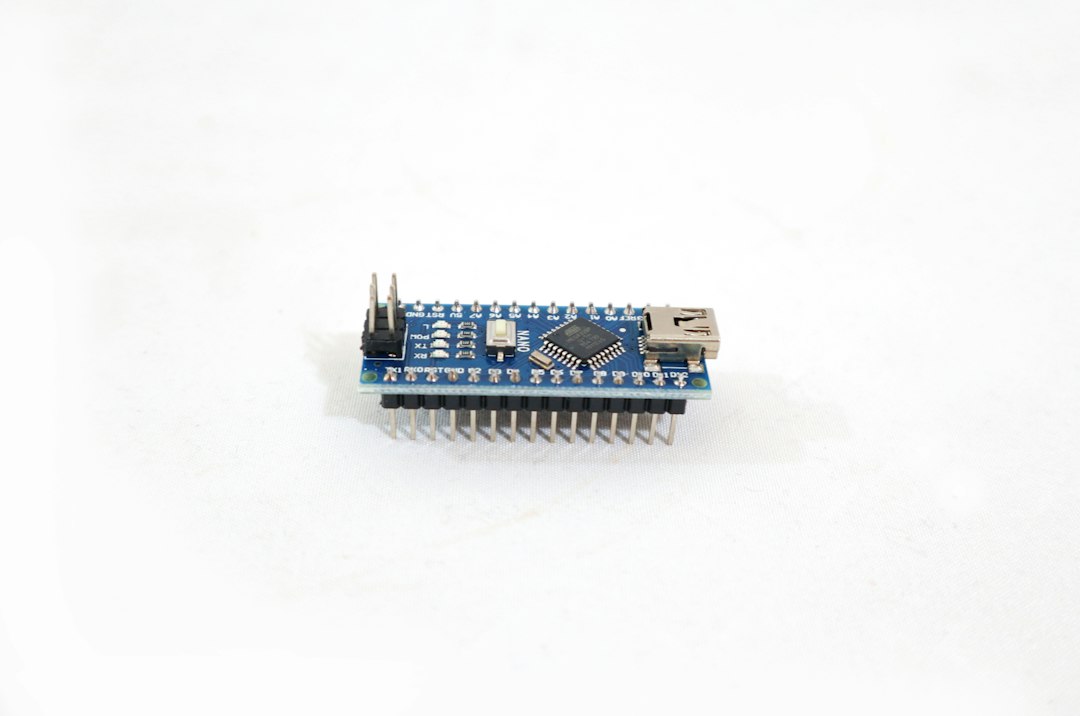
The Invisible Threat: Why Calibration Constants Kill Arduino Nano EEPROM
For engineers and hobbyists alike, the Arduino Nano remains a staple for precision sensing—from pH meters and industrial scales to high-end environmental monitoring. However, a silent killer lurks in the code of many deployed systems: improper EEPROM management.
When you store calibration constants in Arduino Nano EEPROM without wear leveling, you are racing against a ticking clock. The ATmega328P chip, which powers the Nano, is rated for approximately 100,000 write cycles per cell. While that sounds like a large number, a poorly written program that updates calibration data every few seconds during a diagnostic loop will exhaust that lifespan in less than 48 hours. Once a cell fails, your device will provide inconsistent readings, drift unexpectedly, or cease to function entirely. Achieving long-term deployment reliability requires a shift from naive storage methods to professional-grade memory management.
Understanding EEPROM Architecture and Constraints
The EEPROM (Electrically Erasable Programmable Read-Only Memory) on the Arduino Nano provides 1,024 bytes of non-volatile storage. Unlike Flash memory, which is designed for program code, EEPROM is intended for small bits of configuration data that must survive power cycles.
The Physics of Failure
Each time you call EEPROM.update() or EEPROM.write(), the chip physically alters the state of the memory cell. This process involves a charge pump that pushes electrons through an insulating layer. Over time, this stress degrades the material. If you perform this operation millions of times, the "trap" within the transistor loses its ability to hold the charge, rendering the memory permanently corrupted.
The Myth of "Writing Only When Changed"
Many developers rely on EEPROM.update() instead of EEPROM.write(). While EEPROM.update() is a massive improvement because it reads the cell before writing to verify if the value is different, it is not a complete solution. If your calibration routine is poorly structured and triggers frequent, unnecessary "updates" due to floating-point jitter or noise, you are still depleting the life of that specific memory address.
Essential Wear-Leveling Strategies for Calibration
To achieve a "set it and forget it" deployment, you must implement specific patterns that treat the EEPROM as a finite, precious resource.
1. The Hysteresis and Threshold Gate
Before writing any constant to the EEPROM, apply a threshold check. If your calibration constant is a float, don’t save it every time the value changes by 0.0001. Only trigger a save if the delta exceeds a meaningful threshold or if a user explicitly clicks "Save Calibration" via a physical button or serial command.
2. The Dirty Flag Pattern
Use a "Dirty Flag" to track changes. Define a boolean variable isDirty that remains false during routine operation. When a calibration change occurs, set it to true. Only perform the EEPROM write operation when the device is powering down (if you have a capacitor bank for brown-out detection) or at set intervals when the system is idle.
3. Circular Buffering (True Wear Leveling)
For systems that must update frequently, use a circular buffer across a block of EEPROM addresses. Instead of overwriting address 0x00 every time, store the current calibration data at address 0x00, then move to 0x01 on the next update. When you reach the end of your allocated block, wrap back to the beginning. To retrieve the latest data, scan the block for the most recent timestamp or version counter.
Comparison: Naive Storage vs. Wear-Leveling Techniques
| Feature | Naive EEPROM.write() | EEPROM.update() | Circular Wear-Leveling |
|---|---|---|---|
| Write Reliability | Very Low (100k cycles) | Medium (Reduces redundant writes) | High (Distributes wear) |
| Code Complexity | Trivial | Easy | Moderate |
| CPU Overhead | Minimal | Low | Medium |
| Recommended Use | Prototyping only | Static configs | Frequent calibration |
| Longevity | Days/Weeks | Months/Years | Decades |
Implementing the "Dirty Flag" and Threshold Logic
The most effective way to protect your Arduino Nano is to ensure that code execution flows through a gatekeeper function. Never write directly to EEPROM from your main control loop. Instead, follow this architectural pattern:
```cpp
#include
struct CalibrationData {
float offset;
float slope;
uint16_t checksum;
};
CalibrationData currentCal;
bool needsSave = false;
void updateCalibration(float newOffset, float newSlope) {
// Thresholding check
if (abs(currentCal.offset - newOffset) > 0.001 || abs(currentCal.slope - newSlope) > 0.001) {
currentCal.offset = newOffset;
currentCal.slope = newSlope;
needsSave = true;
}
}
void processPendingSaves() {
if (needsSave) {
EEPROM.put(0, currentCal);
needsSave = false;
}
}
```
Post-Processing and Long-Term Deployment
When deploying units into the field, you must account for "Calibration Drift." Sensors like gas detectors, pH probes, or load cells degrade physically over time. Storing these constants is useless if the underlying hardware is failing.
Implementing a Versioning System
Always store a version header at the beginning of your EEPROM structure. This allows you to update your firmware in the future to include new calibration fields without corrupting the old data. If the version header doesn't match the current firmware, force a factory reset or a migration of the data to the new structure.
Calibration Checksums
Always append a CRC or a simple checksum to your EEPROM block. This prevents the Arduino from attempting to load "ghost" data if an EEPROM cell happens to fail or if power is lost mid-write. If the checksum fails to validate, the system should fall back to a safe, pre-defined factory default rather than operating on corrupted calibration constants.